My latest clients had a unique situation where they had custom wooden storm windows covering their beautiful old fashioned single pane glass window facade. (For proper insulation in the Canadian climate).
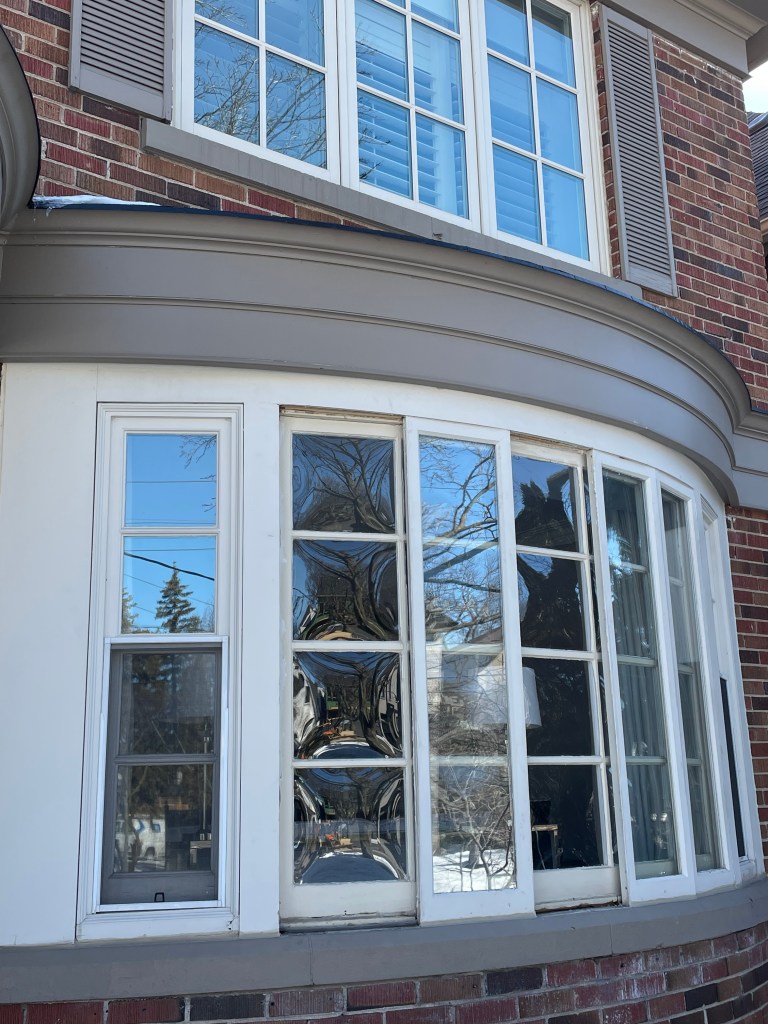
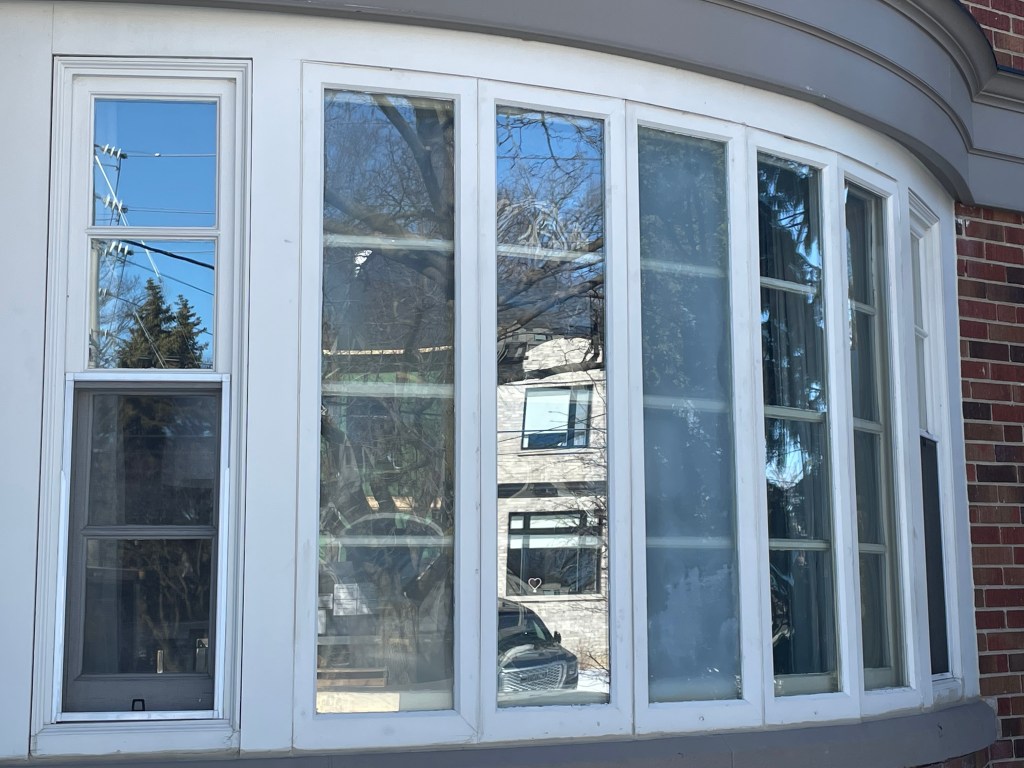
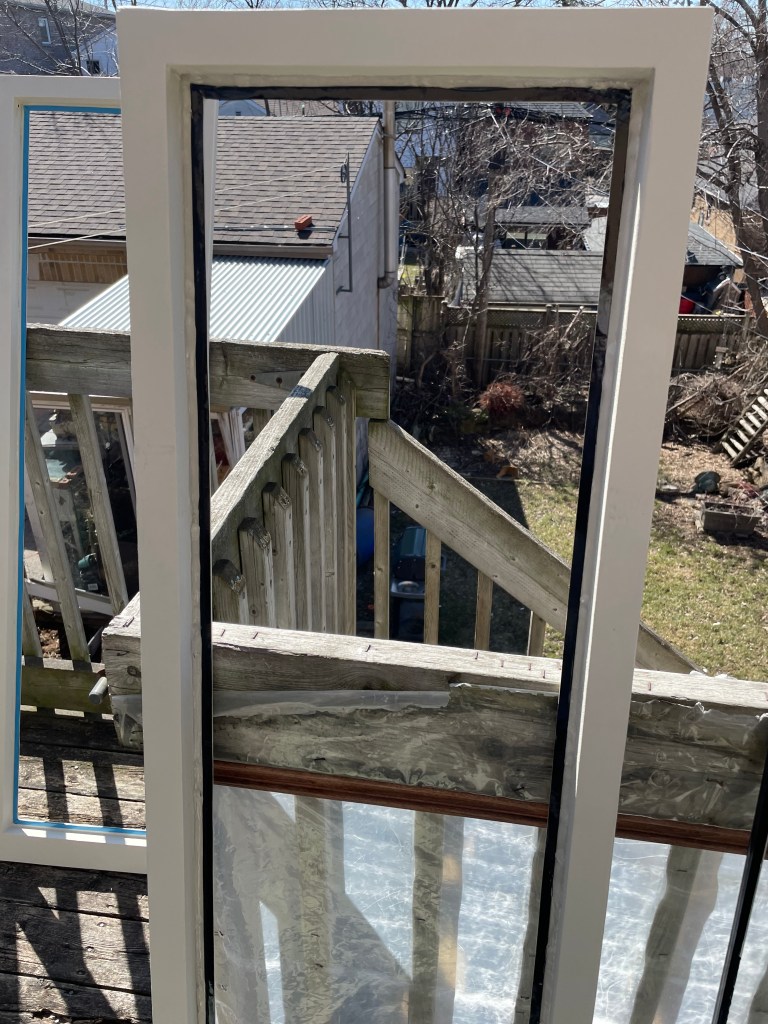
In the photo above you can see the original single pane windows . The two storm windows currently removed had seal failures. You can see in the photo below, how both glass had fogged up, disrupting the view to the outside.
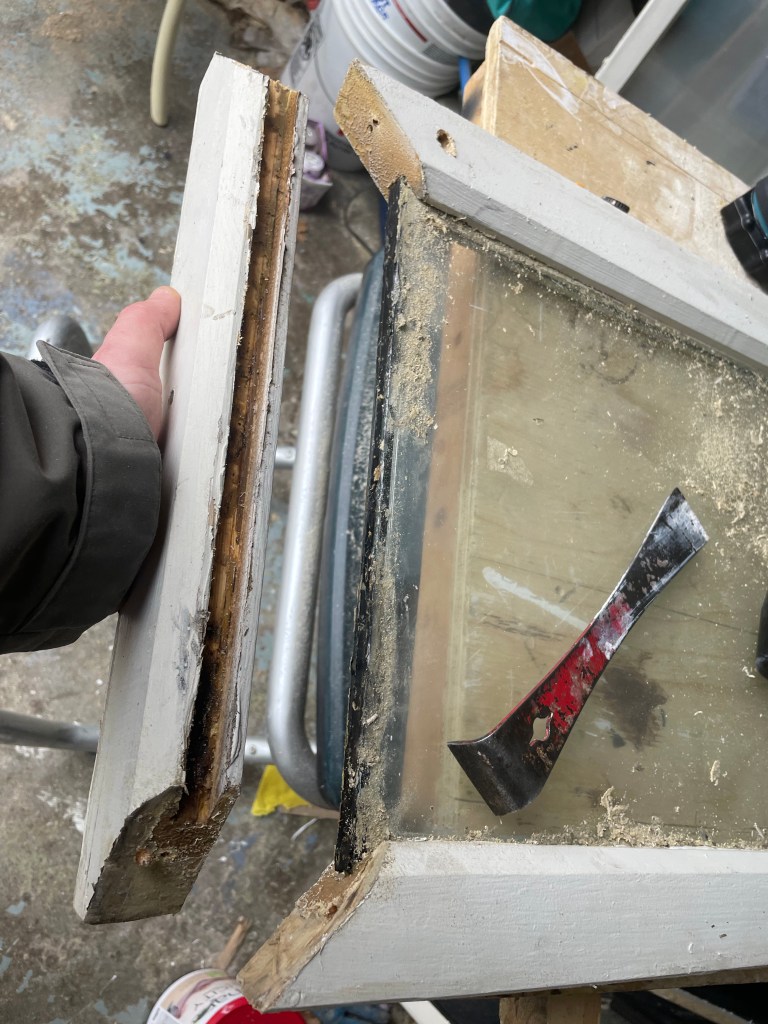
This occurs when the seal around the perimeter of the double pane window breaks, allowing moisture in. The main factor responsible is heat, caused by direct sunlight exposure. During increased heat, window units expand and contract and over time this process breaks down the window seal. In the photo below you can see how the glass seal, as well as the adhesive, broke down inside the wooden frame.
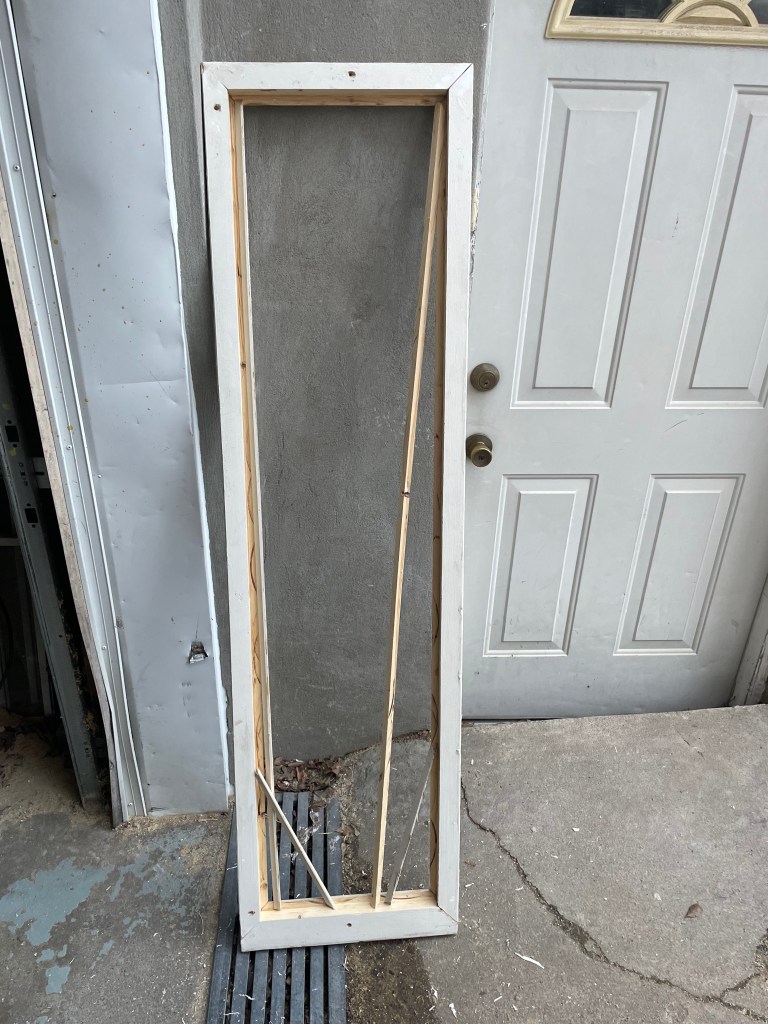
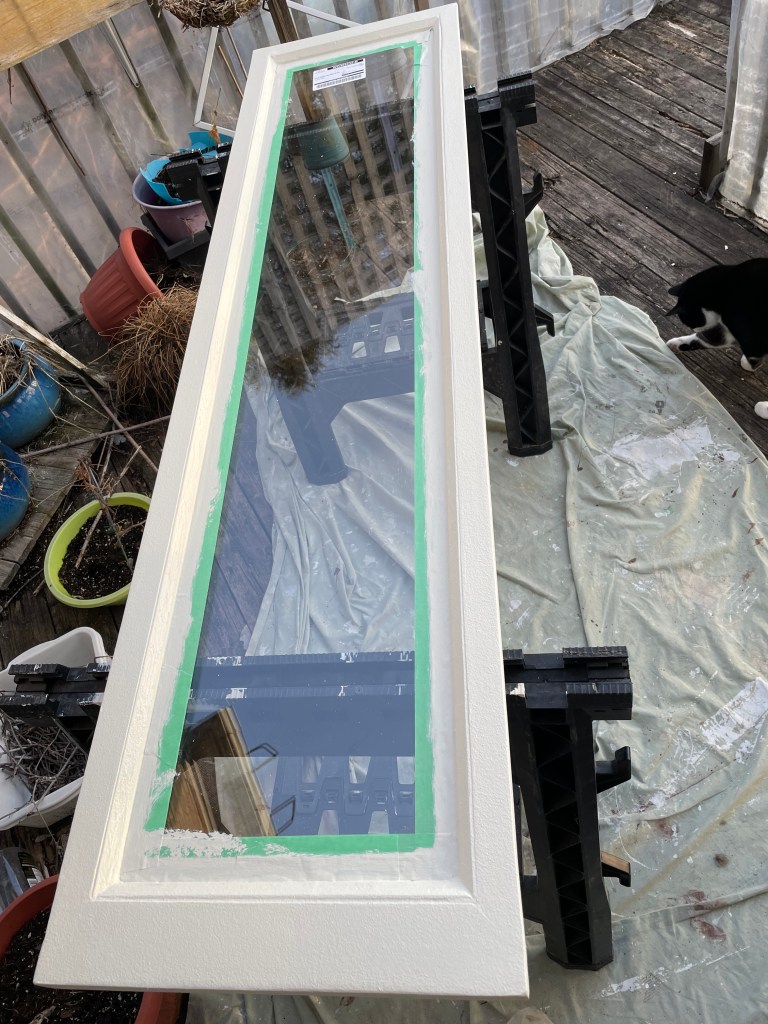
After removing the glass from each unit and cleaning out the wooden frames, I cut the frames to make glass stops. This allowed me to assemble the frames permanently. Future glass replacement will simply involve cutting the perimeter of glass on each side and remove the glass stops (glass stops hold the glass in place and are often part of the decorative moulding).
Likewise, the product used to seal the glass into the frame was a construction adhesive, which made for a very difficult removal. By having the glass in the frames so tight with no space for expansion, the glass likely failed early. Thus, I ordered the new glass at a slightly smaller size (1/4” total in height and width), leaving a 1/8” space around the perimeter of the glass to the wooden frame to allow for expansion and contraction. Typical lifetime for sealed units is 15-20 years. When installing glass, it is best to use glazing tape on the inside periphery of the wooden sash, followed by clear caulking to the side (like seen in photo below)
After installing the glass, a bead of caulking is applied to the other side of the frame, then the glass stops are applied and nailed in. Next, both frames received two fresh coats of paint.
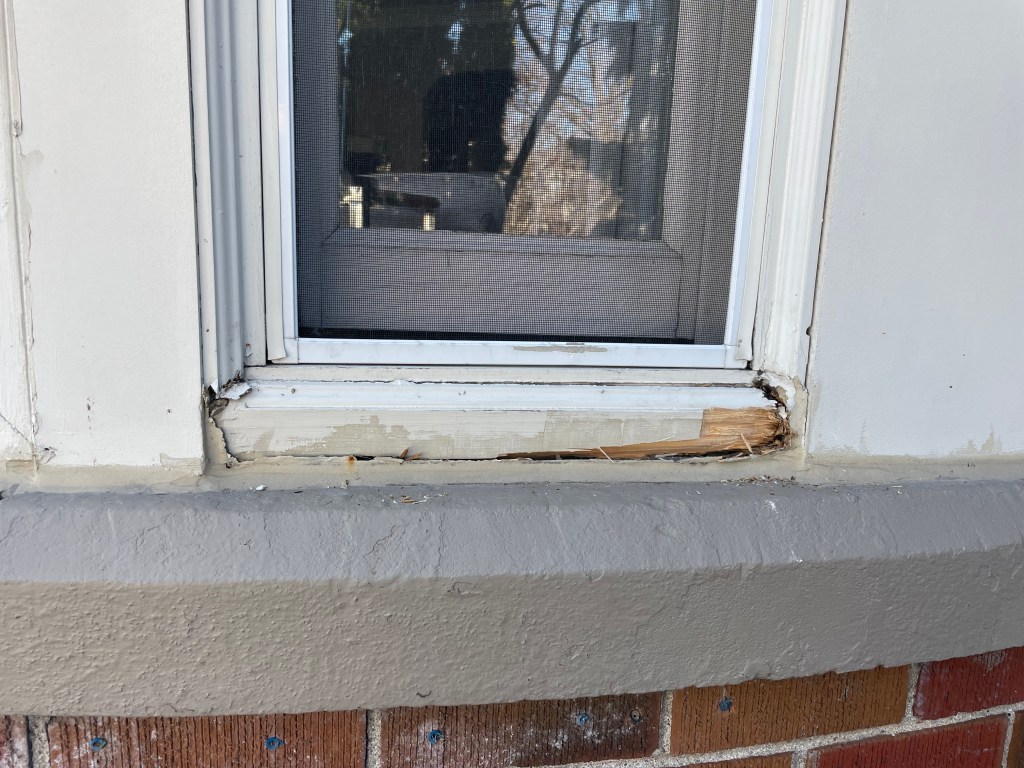
Once the refurbished storm window sashes were ready it was time for install. The space had to be cleaned of old caulking and debris before install. Followed by sealing the frames in with caulking. Some rotted wood casing in the bottom corner window units required replacement as seen in the photo below.
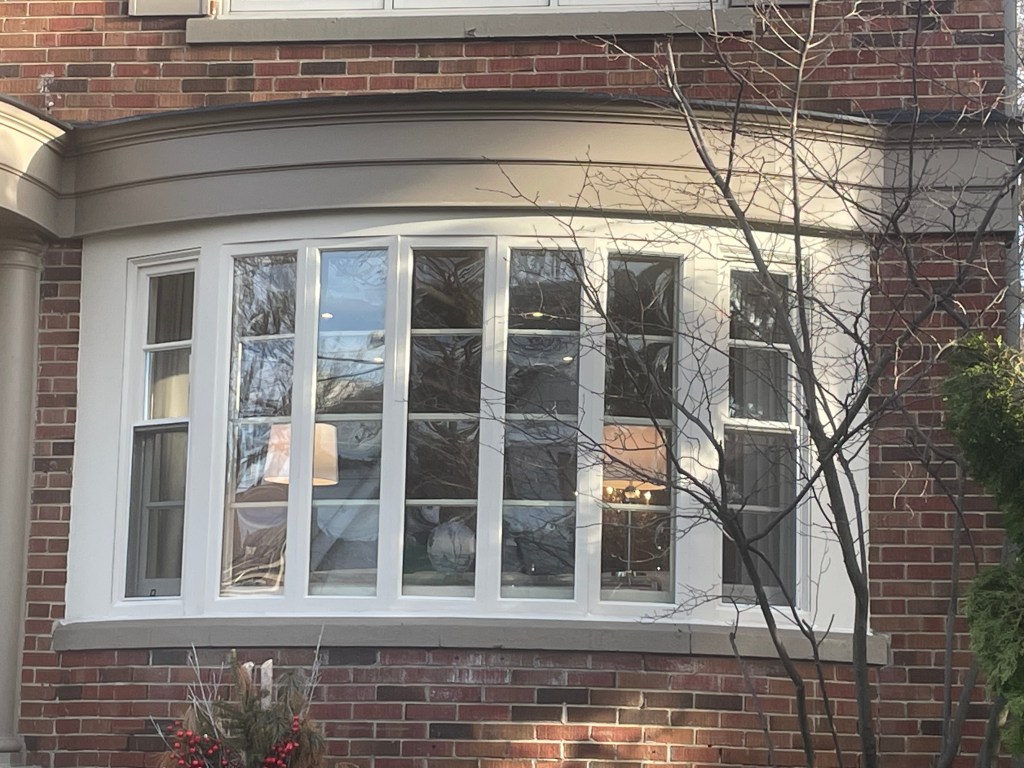
Then, the bottom caulking bead was cut out and replaced along the entire window facade. Below is a photo of the new sashes installed with a fresh coat of paint on the entire window facade.
Below, a photo from inside showcasing the beautiful windows and view to outside!

A quote from the clients: “We are so happy with the work Aaron did! It is so nice to look through the clear clean glass today and the outside looks amazing! Thank you!!!”.
If you have failed sealed units or are in need of a handyman, please reach out to Aaron from Reclaimed Treasures TO @ leheup@live.com or (647)523-6150
